• Home
    • Life
      • Diary
      • Book Reviews
      • Movie Reviews
    • Beauty
      • Make Up
      • Hair
      • Skin
    • TV SERIES
    • Graphic Designing
      • TUTORIALS
      • PORTFOLIO
facebook twitter instagram youtube email

Aasma

Waddup guys? It's been a little while. I did miss blogging so here I am rambling via these words. This Gimp tutorial is about Simple e-Book cover. I hope you all will enjoy it. Let's get started, shall we?
The main focus here is the text placement and the picture you choose.
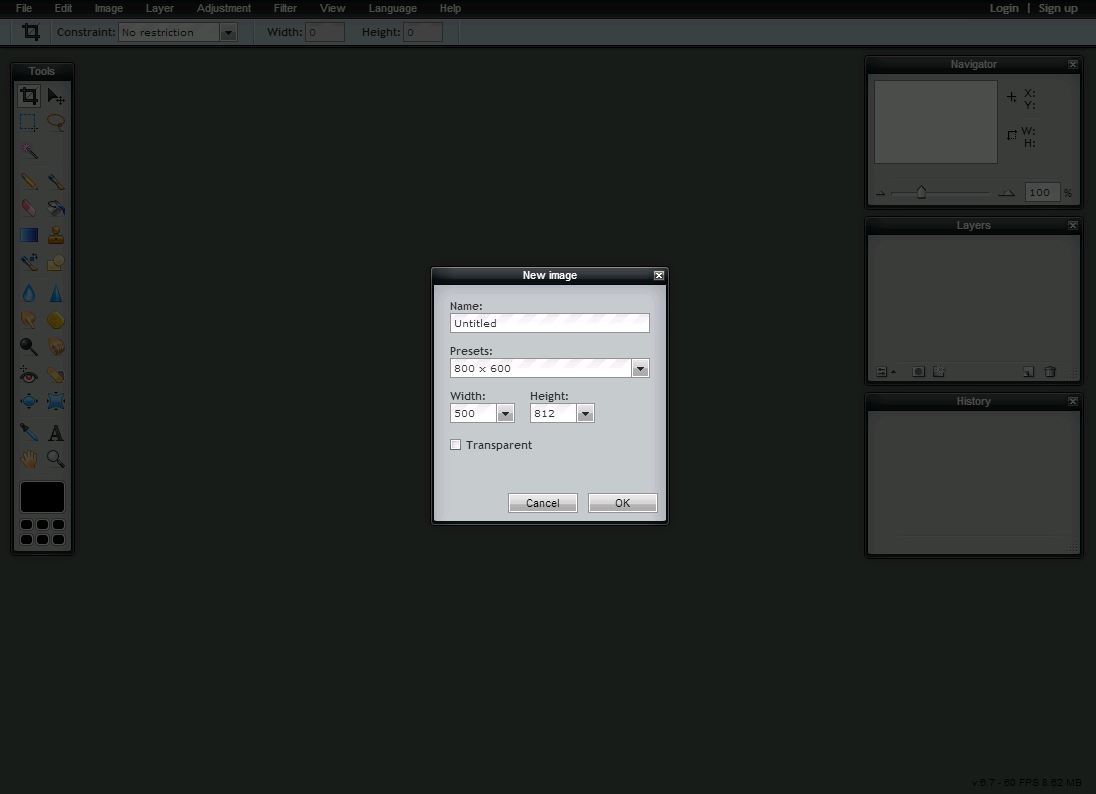
STEP ONE

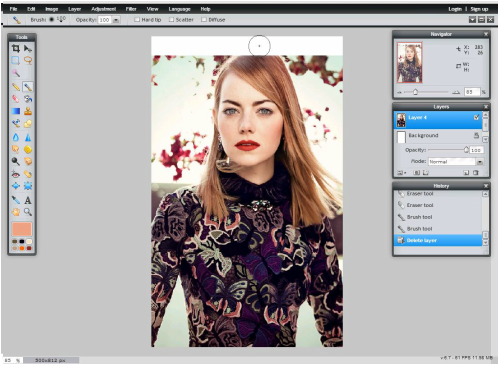
Open a canvas of 340x500.
STEP TWO

Fit your image to the canvas size by using the Scale tool
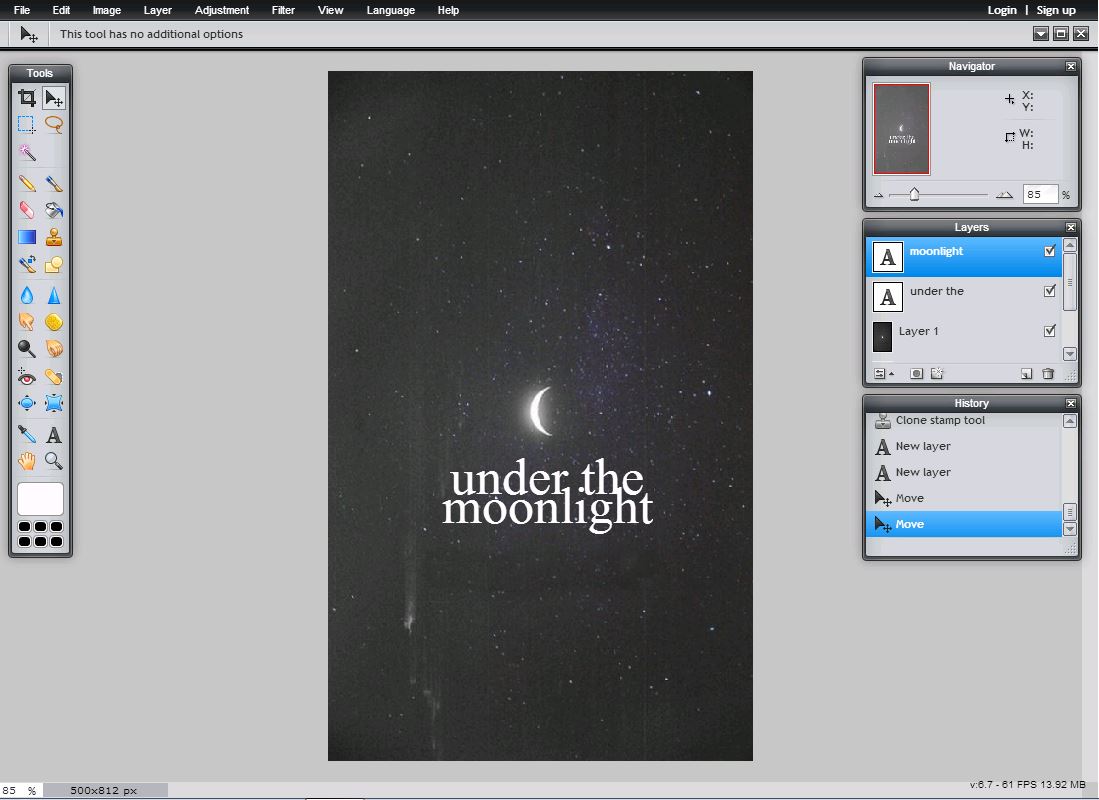

STEP THREE

Click on the text tool and add the title. In my case, I added two different layers for text. My first layer is, 'Wicked' and the other is 'Games'. The font, I used is LeviReBrushed and the color code is #000000.

 STEP FOUR

Right click on the top text layer and select 'Merge down' so now both the layers can act as one. 
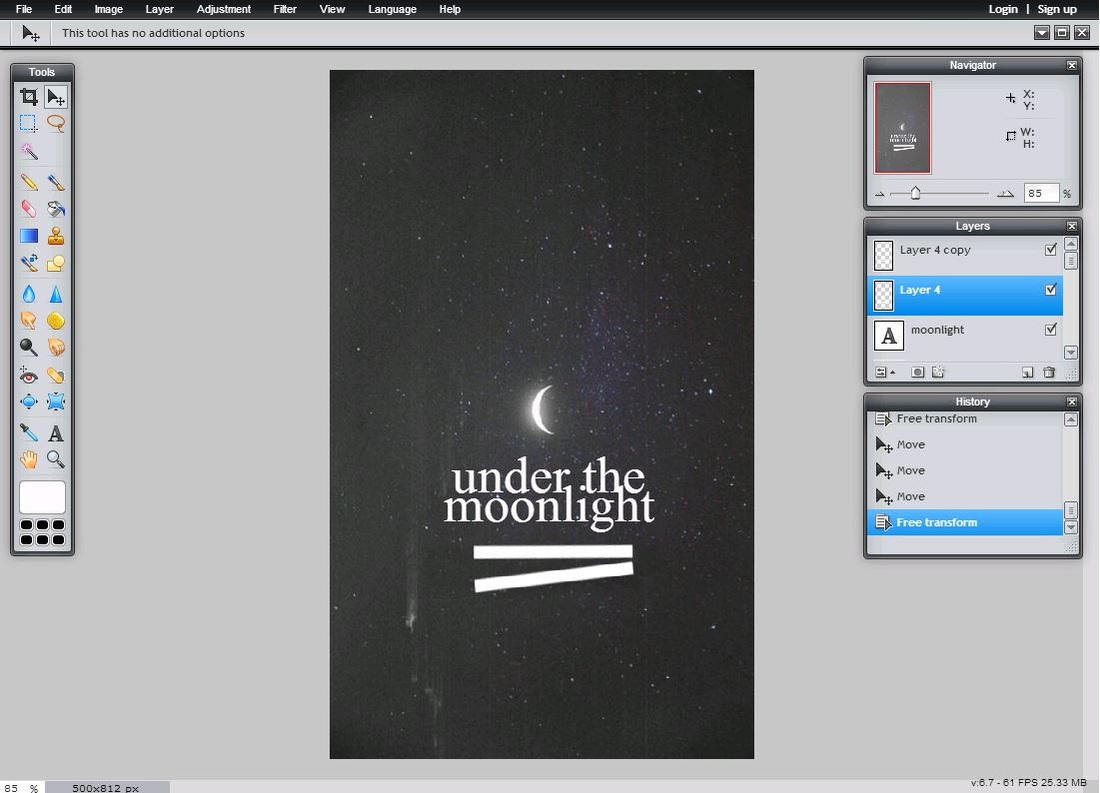

STEP FIVE

Once the text layers are merged, click on the Rotate tool from the tool box and rotate the text in a way that it seems as though it is painted on her face.

STEP SIX

To make the text look more realistic on her face, click on Filters > Distorts > IWarp. 


STEP SEVEN

Check on the Swirl CW in the Deform Mode. Once you have done that, start clicking on the letters individually. In my case, I clicked on 'W' and 'G' a little more than others because I wanted those to look bumped because of her nose's depression. This will create bumps and depressions on the layer so it looks as if it's actually planted on her cheek and not just a layer dryly added. Once you think you are satisfied, click on Ok. (You can always Undo your actions if you feel like doing them again by pressing Ctrl + Z)


STEP EIGHT

To make the text look even more realistic because I am not yet satisfied, Select the Perspective tool from the tool box and drag the top two corners downward. This will help in making the text lay flat on her cheek.


STEP TEN

Next, I changed the text layer mode from Normal to Overlay so it looks something like this.


STEP ELEVEN

Obviously it looked a bit faded so right click on the layer and Duplicate it. Decrease the Opacity of the Duplicated layer so it doesn't looks very dark.
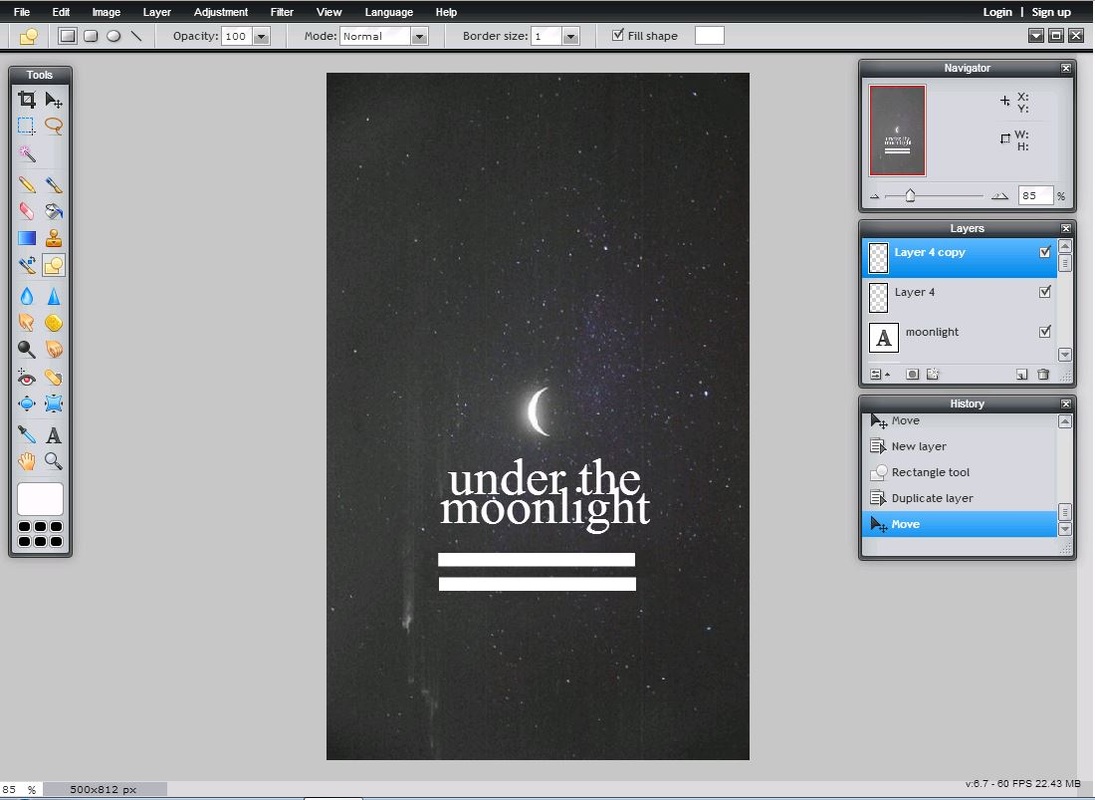

STEP TWELVE

Add the Author's Name or your watermark. For this, I have used QuickSand in Italics.


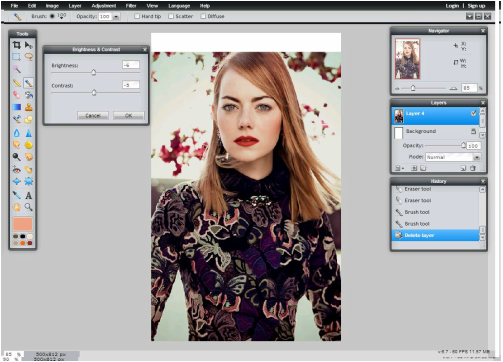
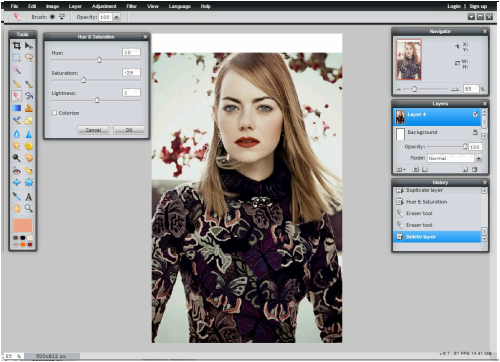
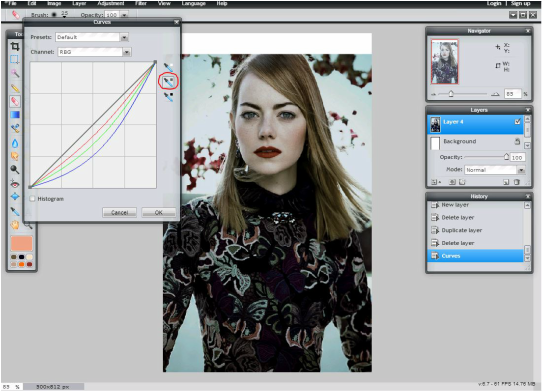
Lastly, I added Gimp Coloring to make it look more presentable. Coloring adds great deal of effect in a picture so it's a important step too.

This is how the end product looks. As you can see, adding coloring made a lot difference. You can also create your own coloring. I'll be demonstrating a step by step tutorial on that too. 

I hope this tutorial was helpful to you!
Please share it with people who might be interested.

I would love to see your recreations, post them in the comments below or tag me on social media.
Until next time,
A is signing off,
toodles!

P.S I have also posted few PIXLR tutorials, check em out if you are interested! :D
Share
Tweet
Pin
Share
21 comments
In this tutorial, we are emphasizing on coloring the graphic/image. It requires five to ten minutes. First of all, you just have to open pixlr and select pixlr editor. 

Click on create a new image and set the desirable size.

STEP ONE:

Open the image you desire to color. Make sure its HD (High Definition). 
In my case, I chose Emma Stone's face shot. Paste the URL by Selecting Layer and clicking on Open Image URL as a Layer.


STEP TWO:

Now all we have to do is play with adjustments. Firstly, I went through Brightness & Contrast. I adjusted the Brightness to -6 and Contrast to -5.


STEP THREE:

Click on Adjustments and Select Hue & Saturation. It entirely depends on the image you selected, all you have to do is play with it. 
The settings suitable for this image are; 
Hue: 10 
Saturation: -29 
Lightness: 1


STEP FOUR:

Next Click on Adjustments and Select Curves. 
Now this is a little tricky yet fun. 
You can go through the Presets, if any one of them suits you can select that. Or you can also Click on the Color Picker that I have encircled with a Red Marker at the Right Side of the Graph. 
After you have selected this tool, With its help, click on different angles of your image.
At some angles it'll be very dark, slightly dark, very light, slightly light. So you have to try different angles. 
When you are fully satisfied, you can click on OK.


I was satisfied already. But if you aren't you can also go through other Options regarding Adjustments. Below are some; 
Color Balance 
Color Vibrance 
Levels 
Exposure

Make sure you save them as PXD. Now you can use this coloring in any picture you desire. All you have to do is open this coloring as a new layer onto the picture.


I hope this tutorial was helpful to you. I would love to see your recreations, comment them below using the code;
[IMG]IMAGE-URL-HERE[/IMG]

Share this with someone who might be interested!
Until next time,
A is signing off,
toodles!
Share
Tweet
Pin
Share
No comments
Welcome to PIXLR corner where I'll be sharing step by step tutorial on how to make a simple book cover for e-book websites etc. Note that this tutorial was originally on my weebly website and posted in 2014 therefore it suits perfectly for beginners. 

STEP ONE:

First of all, you just have to open PIXLR and select PIXLR editor. Click on create a new image and set the size as 500x812.


STEP TWO: 

Next you need to find a suitable image from different sites, in my case google images works best. I searched for 'moon' because that's what my cover is about. When you think you have found your suitable image, Go to Layer and select Open image URL as a layer and then paste the URL. Make sure the image you choose is appealing. This is how your image should look.


STEP THREE:

Next, you have to add text. I have used two separate layers. First layer is where I have written 'Under the' and the second layer which lies just below the first text, 'moonlight.' The font I have chosen is Times New Roman and the size is 60.


STEP FOUR:

Now you have to select drawing tool from the tool box and use rectangle tool to draw a tiny rectangle. Change the color of the background from black to white. (Beside fill shape) Once you have drawn a rectangle, duplicate the layer by right clicking on it and selecting 'Duplicate Layer' on the layer box.


STEP FIVE:

Select the second rectangle layer and go to Edit in the menu box. Click on free transform and rotate the rectangle slightly. You can also adjust the sizes by free transform. This is how the image should look.


STEP SIX:

This is the part where you have to add the subtitle in those rectangles. Select Type Tool from the tool box and write the subtitle. Do not write the whole subtitle together, cut it in two that way you will be able to adjust it in the rectangles. 

For the 'Is where' you don't need to do anything, just type it and after adjusting it in the box, duplicate its layer so that it gives bold effect. 

While for 'I can see you', you have to right click on its layer and select Rasterize layer. (You wont be able to use free transform tool if you don't Rasterize text layer). And then rotate it, after adjusting it, duplicate its layer as well. 
The font I selected for the subtitle is Orator Sd and the size is 23.


STEP SEVEN:

For the Author's name, select the type tool again and type in the name of the author. I have used Orator Sd in italics and the size for it is 35. 

Next, select the very first layer which is your image. Click on Adjustments on the menu bar. 
Select Curves, a window will appear. 
In which you have to change the Presets from Default to Warmer.


This is how your end product should look.


I hope this tutorial was somehow helpful to you. I would love to see you recreate this cover. Post your creations in the comments below and I shall double tap them. ;)

Share this with people who might be interested!
Until next time,
A is signing off,
toodles!


Share
Tweet
Pin
Share
No comments
Welcome to another gimp tutorial on how to cut out PNG pictures i.e delete out the whole background with the exceptional of the subject. For this, I have selected this sassy picture of Shay Mitchell (Because she's beautiful and my brother's woman crush everyday). Anyway, 7 to 8 simple steps and you are done!

STEP ONE:

Open your picture in gimp as a layer. Make sure it's HD so it's easy for you to focus on the details.

STEP TWO:

Right click on the layer and select Add Alpha Channel so now when you erase the background, instead of being white, it'll be a tile pattern.

STEP THREE:

There are more then one methods by which you can erase the background of a picture. First is the wand tool. Click on the part you want to delete, say I clicked on the yellow part which you can see is selected. You can also press shift and do the selection, that way is easy too. Once you are done, press delete on your keyboard.

STEP FOUR:

Another way is the path tool which we used before as well in our first tutorial. Make the selection around the subject. Make sure you have zoomed in the picture so it's detailed and easy.


STEP FIVE:

Once you have made the selection all around the subject, right click anywhere on the picture. Put the cursor on 'Select' and click on 'From Path.'

STEP SIX:

After which you have to click on 'Invert' option so the selection is inverted, i.e the selection is now all over the background except the subject.

STEP SEVEN:

Now just press the delete key on your keyboard and you'll notice the background is completely erased.

STEP EIGHT:

Obviously there are few details still left, as you can see the part near Shay's hair, it's still yellow. In order to perfectly erase that, right click anywhere on the picture. Put your cursor on select and click on 'By Color'. This option will help in selection according to the color. Therefore, by clicking on the yellow part on her hair, a selection is made. Press delete and that shall get removed as well.


And there you have it. The perfect PNG of Shay Mitchell. Eight easy steps and you're done!


I hope this tutorial was somehow helpful to you.
I would love to see your recreations, post them in the comments below by using the code;
[IMG]IMAGE-URL-HERE[/IMG]

Please share it with people who might be interested! :D

Until next time,
A is signing off
toodles
Share
Tweet
Pin
Share
17 comments
*Clears throat*

Looks like S isn't the only style queen around here. 

Please ignore me, I was just trying to add up the little gossip girl spice. A little throwback here though? Let's walk down the memory lane where we go through the amazing fashion sense of Blair Waldorf from the TV show, Gossip Girl. I know, Serena Van der Woodsen's fashion sense is all people talk about but have you seen Blair? I want to steal her closet, literally.
"Whoever said money can't buy happiness didn't know where to shop." - Blair Waldorf


So here are 20 times Blair Waldorf was our style queen and I personally wanted to steal her closet;

1. The all black net cut out.


2. The fifty shades of blue


3. The feels-like-summer


4. The gotta-slay-everyone's-existence-at-work


5. The baggy-nude-ish-dress


6. The dramatic mustard cape


7. The classy with spice of modern


8. The great combo of black and red


9. The yellow-really-is-her-color


10. The beautiful sparkly-cut out sleeves dress


11. The it's-all-about-that-black


12. The printed cherry one


13. The gorgeous kinds of stripes


14. The Oh-my-eyes-are-turning-into-hearts


15. The only-I-can-pull-this-off-you-will-look-funny-ha-ha-ha


16. The classy-queen-B-look


17. THE wedding dress


18. The too-bad-I-can't-wear-this-wedding-dress-everyday


19. The dream prom dress


20. The saved-the-best-for-the-last


So these were my top twenty, I hope you liked them. 
Let me know which one was your favorite by commenting below.
Share it with people you think might be interested! :D

Until then,
A is signing off,
toodles!


Share
Tweet
Pin
Share
No comments
Newer Posts
Older Posts

About me

About Me

Hi! I am Aasma. Born in the 90's who loves to read, write and draw. TV series enthusiastic. Aside that, daises, rain, beaches hold special place in my heart.

I am very excited to explore the world of blogging. I hope you are too.


Follow Me

  • instagram
  • twitter
  • facebook
  • pinterest
  • youtube

recent posts

Sponsor

Facebook

My Tainted Canvas.

Tweet me

Tweet to @aasma08x Tweets by @aasma08x

Blog Archive

  • ►  2017 (2)
    • ►  June (1)
    • ►  January (1)
  • ▼  2016 (9)
    • ►  April (1)
    • ▼  March (5)
      • Simple E-Book Cover 1.0 (Gimp)
      • PIXLR Adjustment Values - PXDs (PIXLR)
      • Simple Book Cover 1.0 (PIXLR)
      • How to cut out a PNG (Gimp)
      • 20 TIMES BLAIR WALDORF WAS OUR STYLE QUEEN | THROW...
    • ►  February (2)
    • ►  January (1)
  • ►  2015 (1)
    • ►  November (1)

Categories

  • BEAUTY
  • DIARY
  • GIMP
  • GRAPHICS

Created with by ThemeXpose | Distributed By Gooyaabi Templates