
Welcome to PIXLR corner where I'll be sharing step by step tutorial on how to make a simple book cover for e-book websites etc. Note that this tutorial was originally on my weebly website and posted in 2014 therefore it suits perfectly for beginners.
STEP ONE:
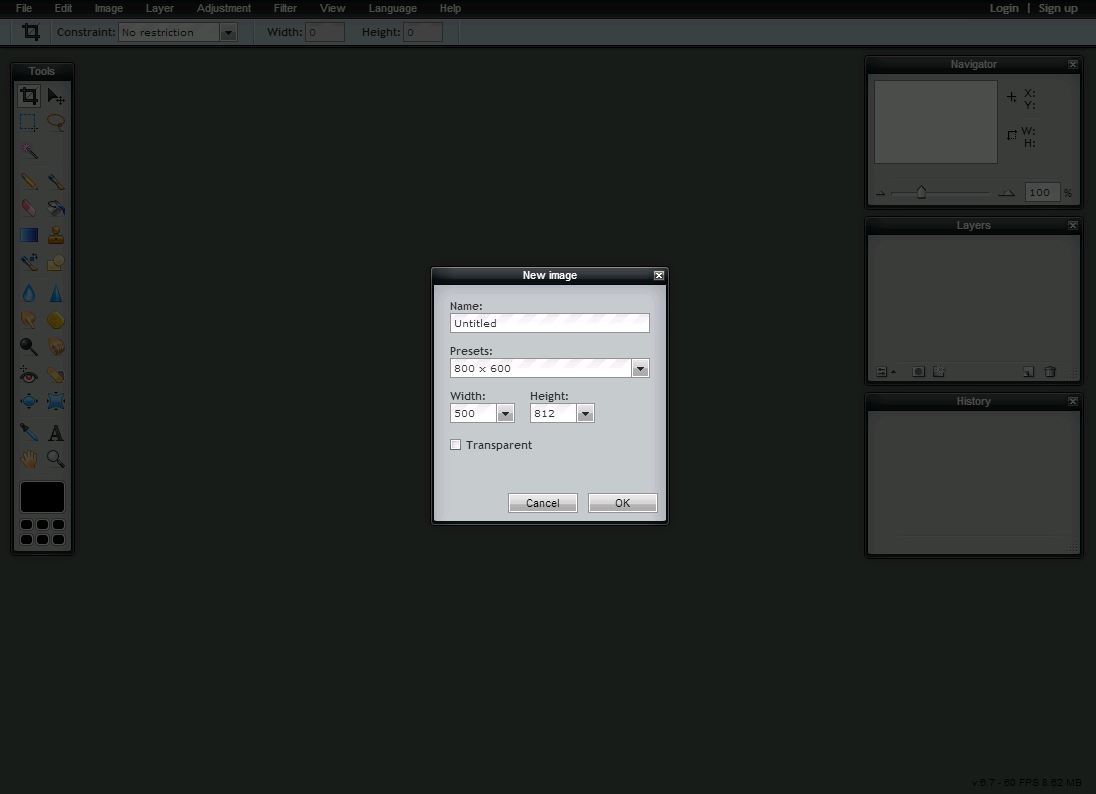
First of all, you just have to open PIXLR and select PIXLR editor. Click on create a new image and set the size as 500x812.
STEP TWO:
Next you need to find a suitable image from different sites, in my case google images works best. I searched for 'moon' because that's what my cover is about. When you think you have found your suitable image, Go to Layer and select Open image URL as a layer and then paste the URL. Make sure the image you choose is appealing. This is how your image should look.

STEP THREE:
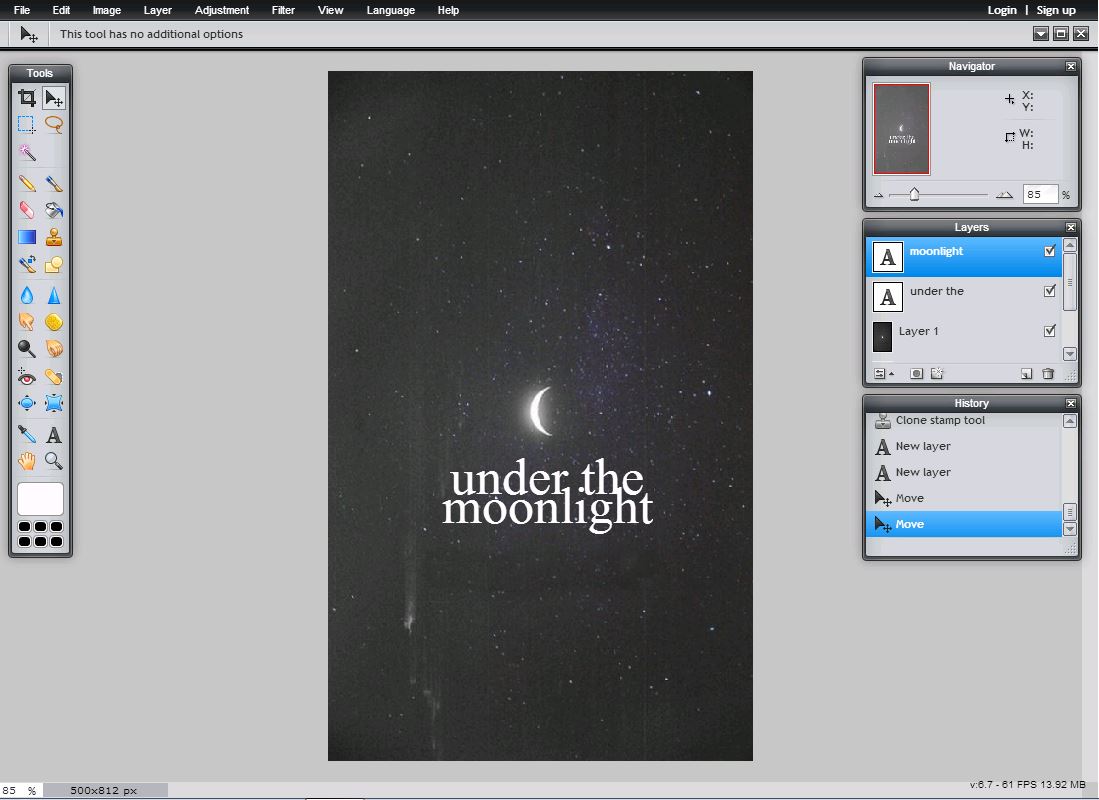
Next, you have to add text. I have used two separate layers. First layer is where I have written 'Under the' and the second layer which lies just below the first text, 'moonlight.' The font I have chosen is Times New Roman and the size is 60.
STEP FOUR:
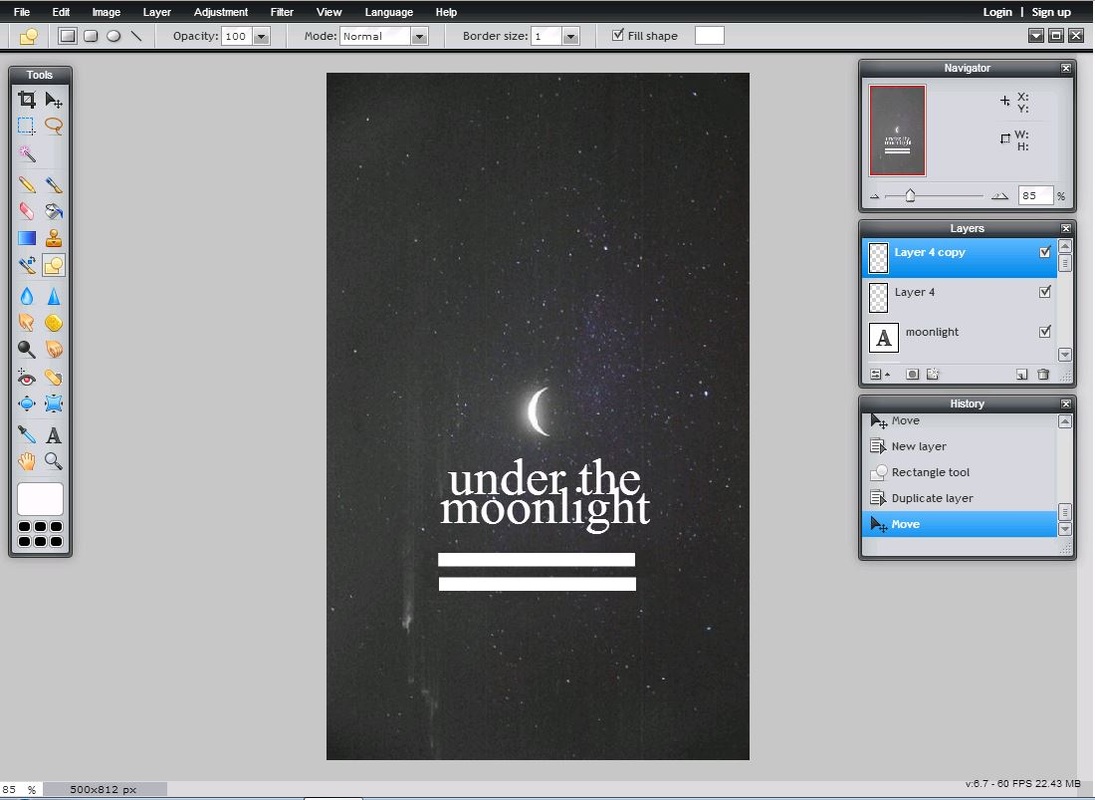
Now you have to select drawing tool from the tool box and use rectangle tool to draw a tiny rectangle. Change the color of the background from black to white. (Beside fill shape) Once you have drawn a rectangle, duplicate the layer by right clicking on it and selecting 'Duplicate Layer' on the layer box.
STEP FIVE:
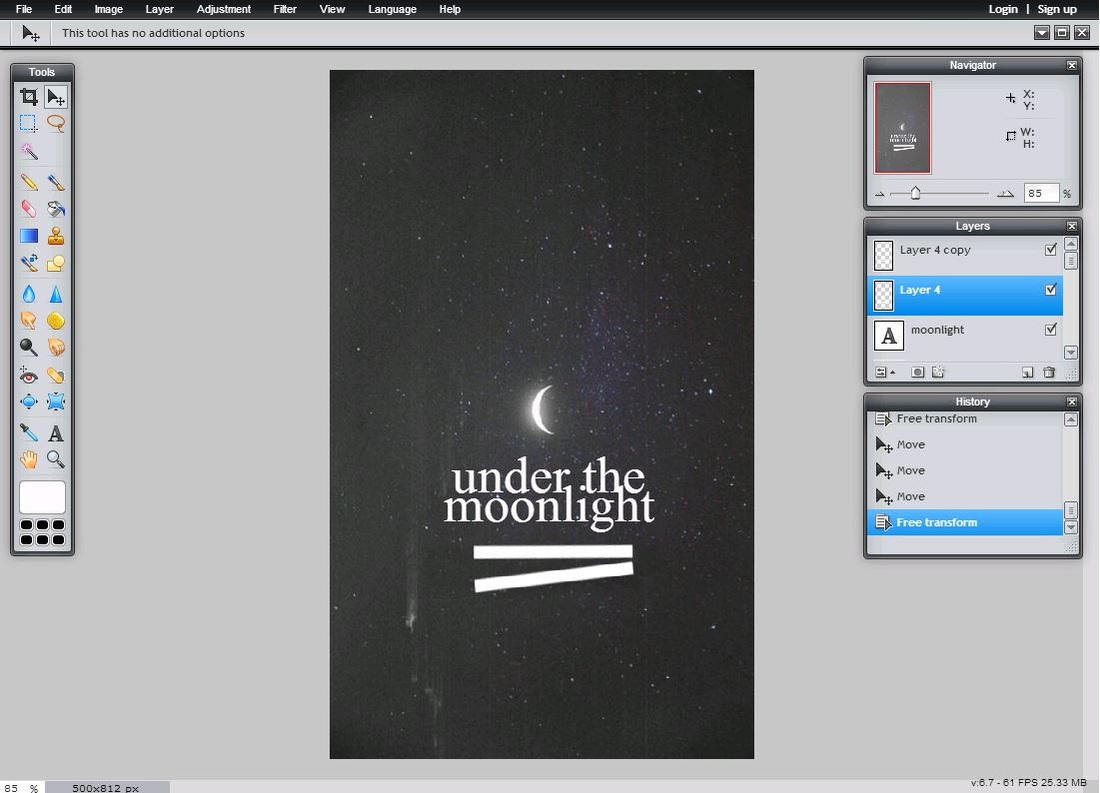
Select the second rectangle layer and go to Edit in the menu box. Click on free transform and rotate the rectangle slightly. You can also adjust the sizes by free transform. This is how the image should look.
STEP SIX:
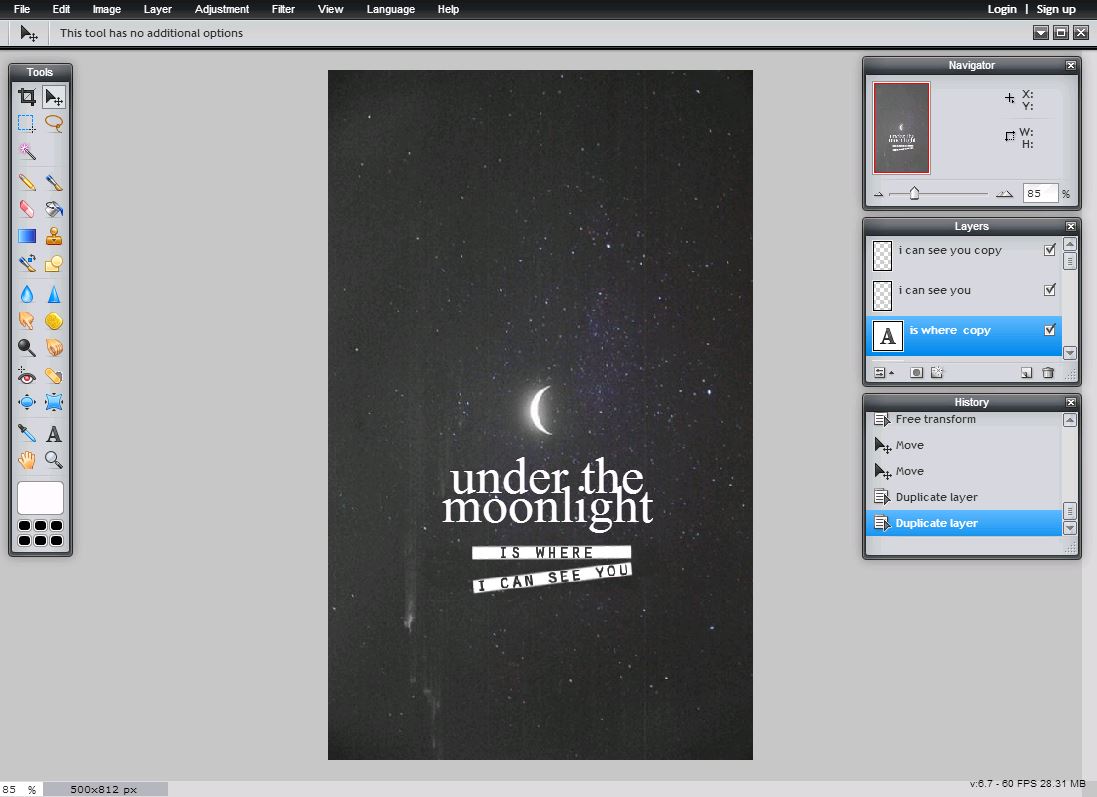
This is the part where you have to add the subtitle in those rectangles. Select Type Tool from the tool box and write the subtitle. Do not write the whole subtitle together, cut it in two that way you will be able to adjust it in the rectangles.
For the 'Is where' you don't need to do anything, just type it and after adjusting it in the box, duplicate its layer so that it gives bold effect.
While for 'I can see you', you have to right click on its layer and select Rasterize layer. (You wont be able to use free transform tool if you don't Rasterize text layer). And then rotate it, after adjusting it, duplicate its layer as well.
The font I selected for the subtitle is Orator Sd and the size is 23.
STEP SEVEN:
For the Author's name, select the type tool again and type in the name of the author. I have used Orator Sd in italics and the size for it is 35.
Next, select the very first layer which is your image. Click on Adjustments on the menu bar.
Select Curves, a window will appear.
In which you have to change the Presets from Default to Warmer.

This is how your end product should look.

I hope this tutorial was somehow helpful to you. I would love to see you recreate this cover. Post your creations in the comments below and I shall double tap them. ;)
Share this with people who might be interested!
Until next time,
A is signing off,
toodles!
0 comments
Drop your thoughts below!